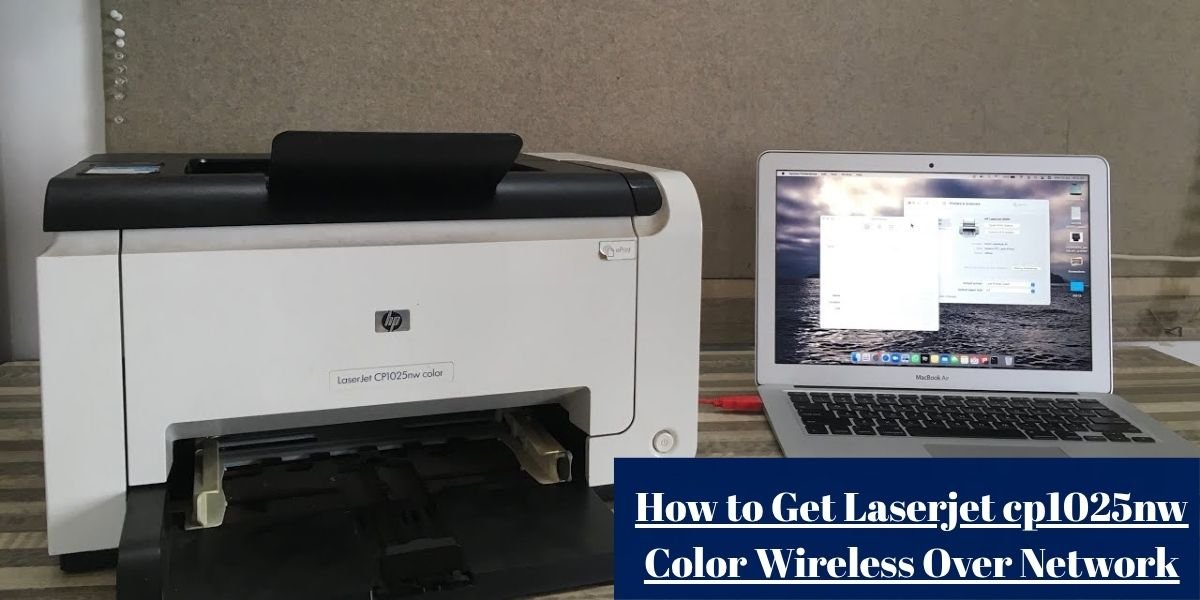
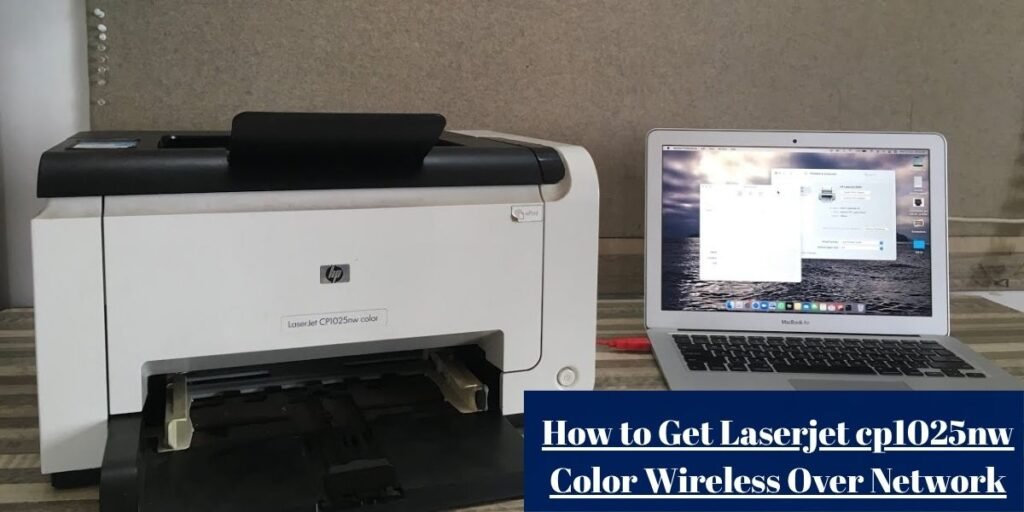
The HP LaserJet Pro CP1025nw has been a compact, dependable color laser printer for home offices since HP introduced it around 2010. Getting it onto a modern router is where most people get stuck. The printer was designed for the Windows 7 and Mac OS X Snow Leopard era, so some of its setup quirks clash with what Windows 11, current macOS releases, and today’s routers expect.
This guide is built around HP’s own documentation for the CP1025nw, which you can find on the official HP Support page for this model. Where older online tutorials get a button or step wrong, the steps below follow the official user guide instead.
The CP1025nw has no touchscreen or menu display. It relies on a few physical buttons, a small set of status lights, and HP’s setup software. Its wireless radio is also limited to the 2.4 GHz band using 802.11b/g/n protocols, so a network that broadcasts only on 5 GHz will never show up. Keep a computer on the same local network nearby, along with the official HP driver package, before starting.
Check the Printer and Network Before Setup
Ten minutes of preparation saves hours of guessing later. Most failed CP1025nw setups come from network configuration mismatches rather than issues with the printer hardware.
Start with placement. For the initial setup, put the printer close to the router, ideally in the same room. Once the printer joins the network and prints a configuration page, move it to its permanent spot and check whether the signal holds.
Plug the power cable straight into a wall outlet. A crowded power strip can cause voltage dips, and a laser printer’s fuser pulls significant current when it warms up. That is a bad moment for a driver installation to be running.
Look closely at the control panel. A healthy printer shows only the steady green Ready light. If the red Attention light is blinking, clear any paper jam, reseat the toner cartridges, and close every door before trying anything else. HP’s manual includes a dedicated section on interpreting these light patterns, and a printer sitting in an error state will not complete network setup.
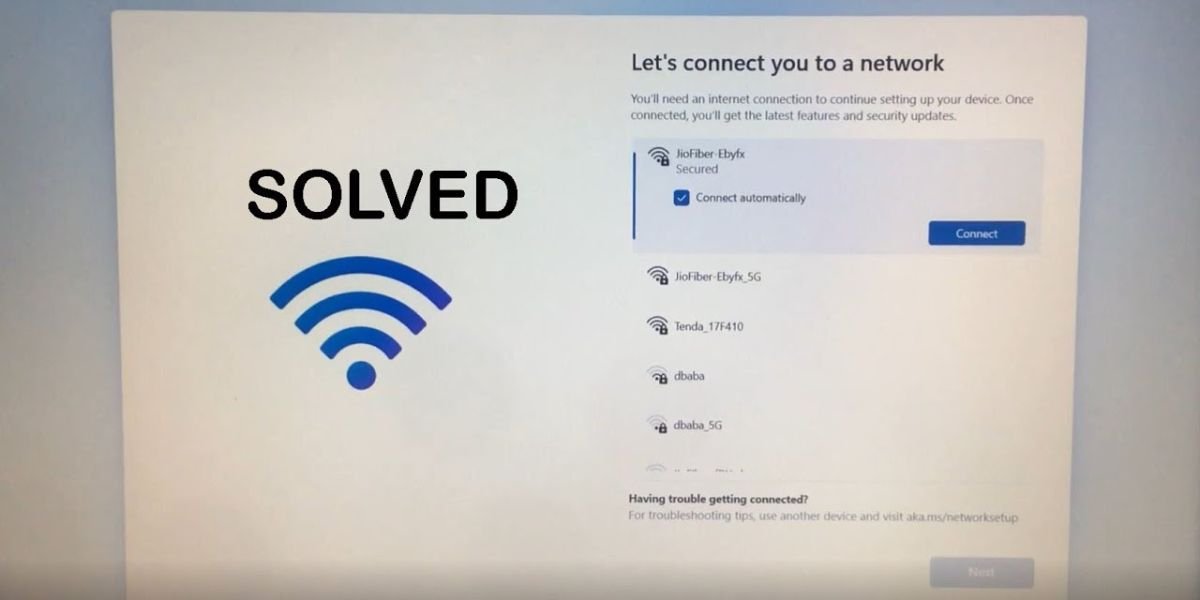
Confirm what your Wi-Fi actually broadcasts. Many modern routers combine the 2.4 GHz and 5 GHz bands under one network name through band steering. When that happens, a laptop connected via 5 GHz can hand the printer invalid information during setup. If you hit trouble, log into your router settings and give the 2.4 GHz band its own temporary name, then merge the names again once the printer is connected.
Connect the HP LaserJet CP1025nw to Wi-Fi Using WPS
Wi-Fi Protected Setup, usually shortened to WPS, is the quickest route because it eliminates the need to type a password. HP’s user guide describes it as the simplest way to set up the product on a wireless network if your router supports it.
Check your router first. Several mesh systems, including some Eero, Google Nest Wifi, and Netgear Orbi models, have dropped the physical WPS button or turned it off by default. The reason comes down to security. WPS has been known for years to be vulnerable to brute-force PIN attacks, which is why many manufacturers retired the feature. If your router lacks a physical WPS button, skip directly to the USB method below.
If your router does feature a WPS button, follow HP’s exact sequence:
- Press the physical WPS button on your wireless router.
- Press and hold the Wireless button on the printer control panel for two seconds, then release it when the wireless light starts blinking.
- Wait up to two minutes while the printer negotiates a connection with the router.
Order matters here. HP’s guide requires pressing the router button first, followed by the printer button, with both devices acting inside the two-minute handshaking window. Reversing this sequence causes the setup to fail, leading many to conclude the printer is broken.
When the blue wireless light stops blinking and stays solid, the printer has joined the network. To confirm the link, print a configuration page:
- Press and hold the Cancel button on the control panel until the Ready light blinks, then release it.
Several online guides incorrectly instruct users to hold the Resume button for this step, but HP’s manual specifies the Cancel button. Look in the network section of the printout for an IP address, such as one starting with 192.168. If the page displays 0.0.0.0 or an address starting with 169.254, the printer did not receive a valid address from your router.
HP’s own support community also walks users through the WPS push-button routine on other LaserJet models. The HP Community thread on WPS setup serves as a helpful reference for how HP staff describe the process, though the CP1025nw guide detailed above remains the primary authority for this model.
Set Up Wireless Printing With a USB Cable
When the router has no WPS support, or the push-button method fails, the USB method provides a reliable fallback. HP’s guide outlines this option for routers that do not support WPS. The setup software copies your computer’s saved wireless settings into the printer’s internal memory, meaning you never type the passphrase into the printer manually.
You need a standard USB printer cable, specifically the Type-A to Type-B style. Choose a short, high-quality cable. Anything much longer than six feet can cause signal dropouts during the handshake, which often shows up as a mysterious installer timeout.
Download the official full-feature software and driver package for your operating system from the HP Support page for the CP1025nw. On Windows 11, this older installer may throw a compatibility warning. If it does:
- Right-click the downloaded setup file.
- Select Properties and open the Compatibility tab.
- Check the box to run the program in Windows 10 compatibility mode.
This single adjustment clears the majority of installer failures on this printer hardware.
Run the setup program and follow the prompts. When asked about the connection type, select Connect through a wireless network. The software will then ask you to attach the USB cable.
This step is critical: HP’s manual explicitly cautions users not to connect the USB cable until the installation program prompts for it. Plugging it in early can trigger Windows to assign its own generic driver path, derailing the wizard.
Once the cable is connected, the installer reads the SSID and security key from your computer and writes them directly to the printer. When the program reports that the network settings have been transferred, unplug the cable. The wireless light on the control panel should settle into a steady glow within a few moments. Finish the remaining wizard screens, and the printer will operate over Wi-Fi without any physical connection.
Add the Printer to Your Computer Over the Network
Joining the router and being usable from your computer are two separate things. The printer may be on your network, but your operating system still requires a dedicated printer entry and driver mapped to it.
On Windows 10 or Windows 11
If you used the full HP installer package, the printer is likely already added. If not, or if you connected using WPS, add it manually:
- Open Settings from the Start menu.
- Go to Bluetooth & devices, then select Printers & scanners.
- Select Add device and wait while Windows scans the network.
If Windows finds the printer, select it to finish. If the scan stalls or the printer shows up as Driver Unavailable, choose Add manually. Select Add a printer using an IP address or hostname, enter the IP address from your printed configuration page, and point Windows to the driver folder extracted from HP.
On macOS Ventura, Sonoma, or Newer
- Open System Settings.
- Scroll down to Printers & Scanners.
- Click Add Printer, Scanner, or Fax…
The printer announces itself on the local network via Bonjour protocols, so it should appear in the list after a moment. Select it and open the Use dropdown menu. Choose the HP LaserJet CP1025 driver if it appears.
HP’s guide also lists AirPrint support for this model, making AirPrint a reliable second choice if the native HP driver is missing. Avoid selecting a generic driver unless no other options exist, as generic drivers can strip out color controls and cause unusual page rendering issues.
Connect the HP LaserJet CP1025nw Through Ethernet Instead
If a network port sits near the printer, a wired connection removes Wi-Fi stability issues entirely. The CP1025nw includes built-in Ethernet alongside wireless functionality, and HP’s original product materials highlight both as core networking features. No extra adapter is needed.
Use a standard Cat5e or Cat6 network cable:
- Plug one end into the network port on the back of the printer.
- Connect the other end into a free LAN port on your router or switch.
- Restart the printer by turning it off, waiting about ten seconds, and turning it back on.
Restarting allows the printer’s network card to request an IP address over the wired link. After it boots, print a fresh configuration page by holding the Cancel button until the Ready light blinks. The wired network section of the printout will display the newly assigned IP address from your router. Run the HP installer or use the manual Add Printer steps outlined above, selecting the network connection path.
If you choose to switch to wireless later, disconnect the Ethernet cable and run through the WPS or USB steps again. Pick one connection method at a time; attempting to run both simultaneously can corrupt the printer’s internal network settings.
A wired connection is the recommended setup for any home office where the router and printer share the same room. It bypasses band steering, WPA3 security mismatches, guest network isolation, and signal dropouts in a single step.
Fix HP LaserJet CP1025nw Wireless Connection Problems
Most CP1025nw failures stem from the mismatch between decade-old printer firmware and current network security standards. Below are the most frequent connection issues and their solutions.
The Printer Will Not Connect to Wi-Fi
Start by examining your router’s wireless security settings. The CP1025nw predates WPA3 encryption, so a router configured to WPA3-only mode will block the printer from joining.
Log into your router’s administrative page, which is typically accessed by typing 192.168.0.1 or 192.168.1.1 into a web browser. Set the 2.4 GHz security protocol to WPA2-PSK (AES) or to a WPA2/WPA3 Mixed Mode. Confirm that the 2.4 GHz broadcast radio is enabled, as some modern dual-band routers disable it by default.
Check for MAC address filtering. If your router restricts access to approved hardware addresses only, the printer’s connection attempts will be silently rejected. Disable MAC filtering during setup or add the printer’s MAC address (found on the configuration page) to your router’s allowed device list.
Keep physical distance and interference in mind. Microwave ovens, cordless phones, and wireless baby monitors all operate on the 2.4 GHz spectrum. Move the printer away from these electronic devices to prevent signal dropouts during configuration.
The Computer Cannot Find the Printer
When the printer shows an active network light but remains invisible to your computer, check your router for AP Isolation (often labeled Client Isolation or Guest Mode). This security setting prevents devices on the same Wi-Fi network from communicating directly with one another. HP provides specific support documentation addressing wireless printers that cannot communicate over guest or public networks.
The primary cause is straightforward: the computer is connected to a Guest network while the printer sits on the primary network. Moving both devices to the same primary Wi-Fi network resolves the discovery block.
The Printer Is Connected but Will Not Print
If documents are sent to the printer but sit in the queue indefinitely, the cause is typically an incorrect port mapping in your operating system:
- Open Control Panel on Windows.
- Navigate to Devices and Printers.
- Right-click the HP LaserJet CP1025nw icon and select Printer Properties.
- Click the Ports tab.
If the checkmark is assigned to an outdated USB port or a dead WSD port from a previous install attempt, click Add Port, choose Standard TCP/IP Port, and enter the printer’s current IP address.
HP’s documentation highlights a similar issue where the unit stops printing immediately after completing wireless setup. In this scenario, third-party firewall software on the computer is often blocking local port traffic. Check your security software settings to ensure printer communication ports are permitted.
The Printer’s IP Address Has Changed
Routers dynamically reassign local network addresses using DHCP leases. Consequently, your printer might receive a new IP address after a power outage or router reboot. When this happens, Windows continues sending print data to the old address, causing the printer status to display as Offline.
The permanent solution is to fix the IP address so it remains static:
- Open a web browser on your computer.
- Type the printer’s current IP address into the address bar and press Enter.
- This opens the HP Embedded Web Server (EWS) interface.
- Navigate to the Networking tab.
- Change the IP configuration setting from DHCP to Manual (or Static) and save the changes.
An alternate, highly effective method is setting up a DHCP Reservation within your router’s admin panel. This binds a specific IP address directly to the printer’s physical MAC address, ensuring the router always assigns the exact same address without needing to change settings inside the printer itself.
Confirm That Wireless Network Printing Works
Conclude the installation with an end-to-end verification test to ensure the complete communication chain from computer to router to hardware engine is fully operational.
On Windows, open Settings, select Printers & scanners, click the HP LaserJet CP1025nw, open Printer properties, and click Print Test Page. On a Mac, open the printer’s active print queue in Printers & Scanners and select the test page option from the menu.
A clear test print confirms that rasterization drivers, network transport layers, and hardware communications are aligned. As a final check, turn the printer off using its physical power button, wait ten seconds, and power it back on. Send another test print once the wireless light stabilizes. Verifying that the connection automatically recovers after a power cycle ensures reliable printing operations for everyday office tasks.